Google’s Pixel 10 launched in August 2025 with a familiar look but a noticeably different set of internals. Once repair specialists at iFixit opened the device on camera, it became clear that Google had rethought how the phone goes together, not just how it looks on the outside. If you’ve been searching for a Pixel 10 teardown breakdown that actually explains what’s happening inside the phone and why it matters, this guide covers everything a beginner needs to know.
We’ll walk through what a teardown actually involves, what was found inside the Pixel 10, how its repairability compares to past Pixel models, and what this means if you ever need to fix your own phone. No technical background required just a curiosity about what’s hiding under that glass back.
What Is a Phone Teardown, and Why Does It Matter?
A teardown is exactly what it sounds like: taking a device apart piece by piece to document its construction, components, and overall build quality. Repair organizations like iFixit perform these breakdowns on nearly every major smartphone release, removing screws, prying off panels, and mapping out every chip, cable, and battery cell along the way.
For everyday users, a teardown answers practical questions. Can you replace the battery yourself when it wears out? How hard is it to fix a cracked screen? Are parts modular, or is everything fused into one disposable unit? These details matter more than most buyers realize, since battery degradation and screen damage are the two most common reasons people replace their phones early.
Teardowns also matter for the bigger picture. With right-to-repair laws gaining traction in places like the European Union and several U.S. states, manufacturers are under growing pressure to design devices that owners can actually fix instead of replace. A teardown is one of the clearest ways to measure whether a company is responding to that pressure.
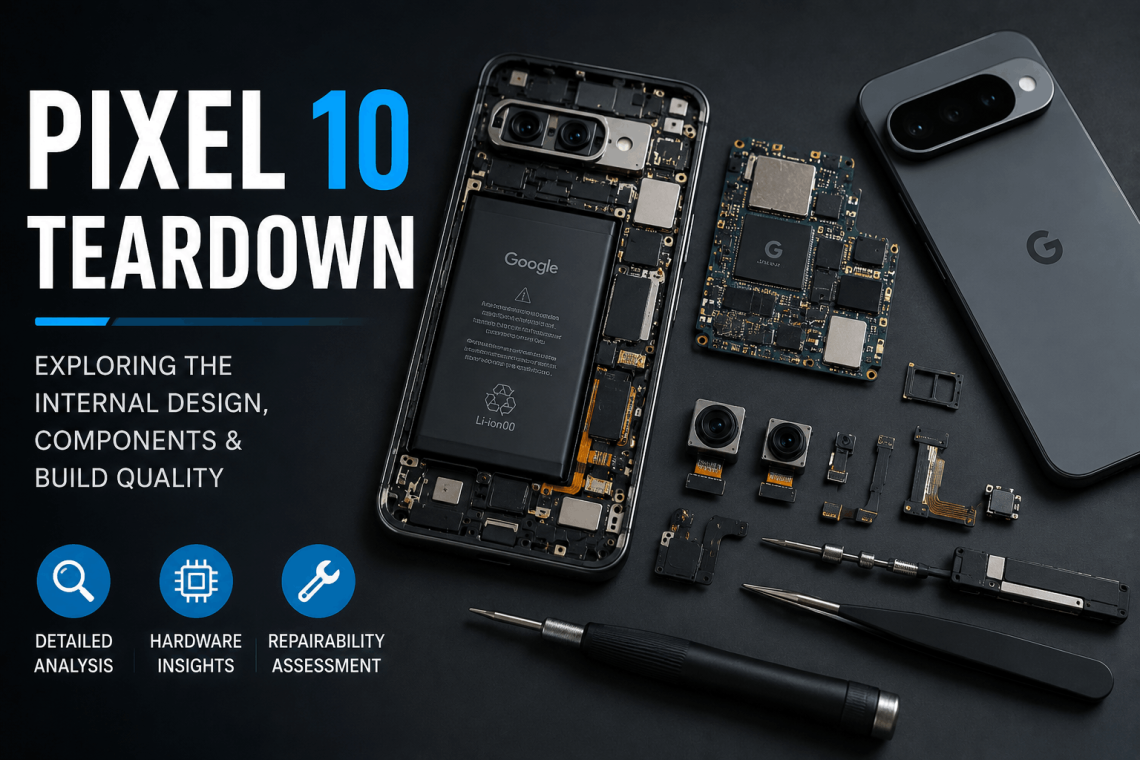
Pixel 10 Teardown: First Impressions
The Pixel 10 teardown conducted by iFixit started with a pleasant surprise. Most modern smartphones with water resistance ratings, including the Pixel 10’s IP68 certification, rely on heavy adhesive that needs heat guns and careful prying to loosen. The Pixel 10’s rear glass panel came off using only picks and a suction tool, without needing any heat at all.
That single detail set the tone for the rest of the teardown. Instead of fighting through layers of glue and brittle clips, technicians found a cleaner internal layout than expected. Fewer screws were used compared to most flagship phones, and every single one used the same T3 Torx Plus head. That consistency might sound minor, but it matters in practice: instead of needing a drawer full of specialty screwdrivers, a single tool handles nearly every fastener inside the phone.
Battery Design: The Pull Jacket System
Battery replacement has historically been one of the most frustrating repairs on a Pixel phone. Older models used thin adhesive pull strips that frequently snapped mid-removal, leaving sticky residue and a stuck battery behind. The Pixel 10 introduces a new approach that Google calls a “pull jacket” system.
Instead of a fragile adhesive strip, the battery sits inside a removable sheath with a bright green tab. Pulling the tab releases the battery from the adhesive holding it in place, without requiring the screen to be removed first. That last detail is a meaningful change, since previous Pixel teardowns showed battery swaps that risked damaging the display in the process.
The battery itself comes in at roughly 19.4 watt-hours, a modest capacity increase compared to the Pixel 9. While the pull jacket system isn’t quite as effortless as some competing designs, it represents a clear step forward in making a routine repair safer and more predictable.
Display and Screen Repairability
The screen remains the most difficult component to service on the Pixel 10. The 6.3-inch OLED panel, capable of hitting 3,000 nits of peak brightness, is held in place with adhesive strong enough to require real heat and suction to remove safely. Technicians noted that careless removal risks separating the display layers, which can permanently damage the panel.
This is consistent with most modern smartphones, where screens are bonded directly to the frame for structural rigidity and water resistance. It’s worth knowing this going in: if your Pixel 10 ever cracks its display, this is not a beginner-friendly repair, and professional service or an official repair kit is the safer route.
Modular Components: USB-C Port, Speaker, and Charging Board
One of the more encouraging discoveries in the teardown involved the lower section of the phone. The charging port, speaker, and supporting board can all be removed and replaced independently of each other. This matters because these are some of the most physically abused parts of any phone — ports wear out from constant cable insertion, and speakers can fail from drops or moisture exposure.
Rather than forcing a full board replacement for one failed component, the Pixel 10’s modular lower assembly means a cracked charging port or blown speaker can be fixed without touching unrelated parts of the phone. This kind of targeted repair keeps costs lower and reduces electronic waste from unnecessarily discarded components.
Tensor G5 Chip and Internal Layout
Once inside, the Pixel 10 reveals Google’s custom Tensor G5 processor sitting at the heart of the mainboard. The chip handles everything from AI features to camera processing, and its placement within the internal layout reflects a design that prioritizes accessibility over cramming components into the smallest possible space.
The mainboard sits beneath the rear camera assembly, which adds a small amount of extra disassembly compared to a completely open layout, but the overall internal architecture remains noticeably tidier than what was found in earlier Pixel teardowns. Cable routing is more organized, and fewer obstacles stand between a technician and the core components.
Pixelsnap: Magnetic Charging Arrives on Pixel
A standout addition revealed during the teardown is Pixelsnap, Google’s answer to Apple’s MagSafe system. A ring of magnets built into the back of the phone enables Qi2 wireless charging along with compatible magnetic accessories like wallets, stands, and charging pucks.
From a repair standpoint, this addition does introduce new considerations. The magnetic ring sits close to sensitive internal components, and removing or reinstalling it requires care to avoid disrupting the phone’s wireless charging performance. Still, its presence shows Google catching up to a feature that’s become a major selling point on competing phones.
How the Pixel 10 Repairability Score Compares
After completing the full breakdown, iFixit awarded the Pixel 10 a provisional repairability score of 6 out of 10. While that number might not sound impressive at first glance, context matters here. Earlier Pixel models, including the Pixel 4 XL, scored as low as 4 out of 10. The Pixel 9 Pro XL faced even sharper criticism, with reports describing its battery as nearly impossible to remove without risking damage to surrounding components.
Against that backdrop, a 6 out of 10 score represents a genuine improvement. The combination of an easier-to-remove back panel, a safer battery replacement method, modular port and speaker components, and a more standardized screw system all contributed to the higher rating, even with the display remaining a persistent weak point.
What This Means If You Own a Pixel 10
For the average owner, the teardown findings translate into a few practical takeaways. Battery replacement should be noticeably less stressful than on older Pixel models, and it’s now realistic for confident DIY users to attempt it at home with the right tools and a genuine repair kit. Charging port and speaker issues, two of the most common physical failures on any smartphone, can be addressed without an expensive full-board replacement.
Screen repair, on the other hand, still calls for caution. Unless you have prior experience working with adhesive-bonded displays, a cracked screen is best handled through an authorized repair service or a carefully followed official guide, ideally using genuine replacement parts to avoid compatibility issues with Pixelsnap and the phone’s water resistance rating.
One detail worth remembering before attempting any repair: reassembly requires fresh adhesive for the back cover, the display, and the battery. Skipping this step can compromise the phone’s water resistance, so any DIY repair should include ordering replacement adhesive alongside the part itself.
Tools You’ll Need for a Pixel 10 Repair
If you’re planning to open up your own Pixel 10, a few basic tools make the process far smoother:
- A T3 Torx Plus screwdriver, since nearly every screw inside the phone uses this single head type
- A set of plastic opening picks and a suction handle for separating the back glass panel
- A heat source, such as a heat gun or heat pad, for safely loosening the display adhesive
- Replacement adhesive strips sized for the back cover, display, and battery
- A spudger or plastic prying tool for disconnecting internal cables without damaging connectors
Official repair kits, including ones offered directly through partnerships between Google and iFixit, typically bundle these tools together along with genuine replacement parts, which is the safer option for anyone attempting their first phone repair.